Searching for Security Groups and Permissions
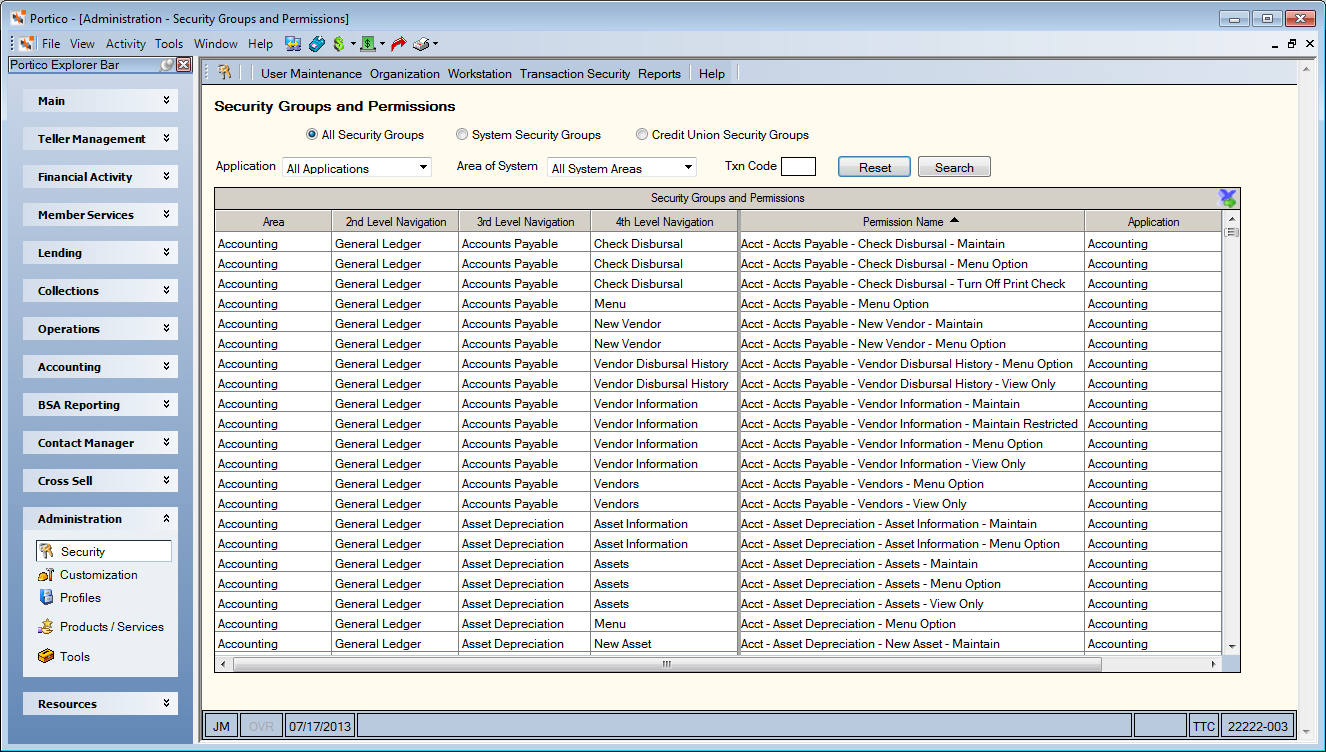
The Security Groups and Permissions window lets you obtain a list of permissions and groups by application, system area, and transaction code. You can export the groups and permissions to a Microsoft Excel spreadsheet for further review and printing. To access the Security Groups and Permissions window, under Administration on the Portico Explorer Bar, select Security. On the Security top menu bar, select User Maintenance, then select Security Groups. The Security Groups - List window appears. Select the Security Groups and Permissions icon button on the Security Groups - List window. The Security Groups and Permissions window appears.


How do I? and Field Help
To search for permissions and groups...
- Select the appropriate option to display the permissions. Only the permissions assigned to the type of security groups selected will appear in the grid.
- Select the All Security Groups option to display the permissions included in all security groups: Portico standard groups and credit union-defined groups. System default.
- Select the System Security Groups option to display the permissions included in the standard Portico security groups only.
- Select the Credit Union Security Groups option to display the permissions included in the credit union-defined security groups only.
- From the Application drop-down list, select the Portico application. You can also choose:
- All Applications – This will display all the applications and not filter based on application ID. System default.
- Assigned Applications – This will filter the permission list based on applications assigned to your credit union, eliminating any applications your credit union doesn’t use.
- Unassigned Applications – This will filter the permission list based on the applications not assigned to your credit union.
- From the Area of System drop-down list, select the system area. This list is populated with navigation options from the Portico Explorer Bar and the menu bar.
- In the Txn Code field, you can enter the 3-digit host transaction code that contains the Portico functionality.
- Select Search to display the permissions. Select Reset to clear the search criteria and the grid.
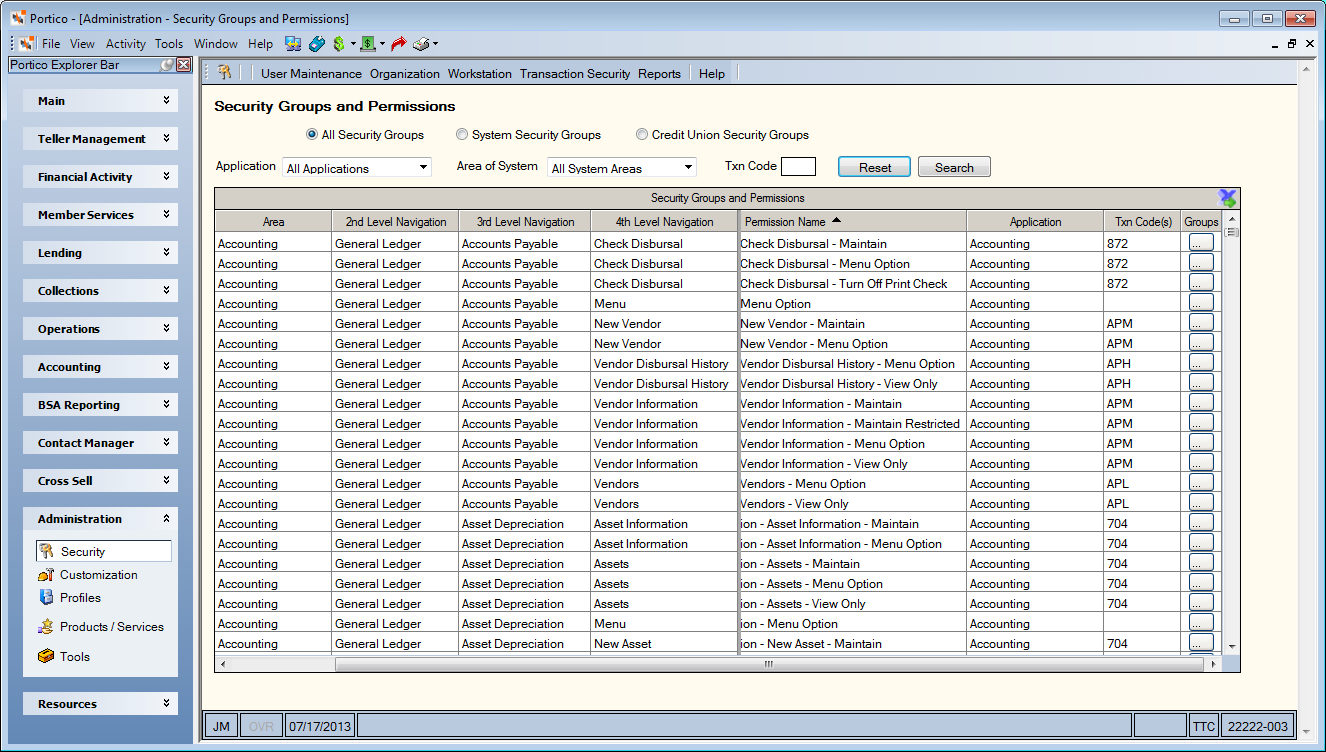
To display as much information as possible, this window uses a larger resolution than our standard Portico windows. Depending on your screen resolution, you may see a scroll bar at the bottom of the window. A scrollbar will also appear at the bottom of the grid to provide access to the Txn Code(s) column and the Groups column. All grid columns, except Groups, are sortable. You can export the information to Microsoft Excel 2007 or later by clicking the export icon.
| Column Heading | Description |
|---|---|
| Area | The area of the system associated with the permission. It represents the highest level of navigation for the permission. |
| 2nd Level Navigation | The 2nd level of navigation for the permission. |
| 3rd Level Navigation | The tab or menu associated with the permission. It represents the 3rd level of navigation for the permission. |
| 4th Level Navigation | The window associated with the permission. It represents the 4th level of navigation for the permission. This column may or may not contain data as some areas of the system do not have 4 levels of navigation. |
| Permission Name | The security permission name. |
| Application | The application associated with the permission. |
| Txn Code(s) | The host transaction codes associated with the permission, if applicable. The field may be blank, contain one transaction code or multiple transaction codes. |
| Groups | Select the button in the Groups column to display the Permission Security Group Assignments dialog box. The Permission Security Group Assignments dialog box lists all the security groups that contain the permission. |
The permission Portico – User Maintenance – Security Groups – Permission and Security Group Search included in the Portico – Security – Administrator security group controls access to the window. Users must be assigned to this security group, or you can add the permission to a credit union-defined security group using the Security Group Permissions – Update window.