Reviewing the Escalation Report
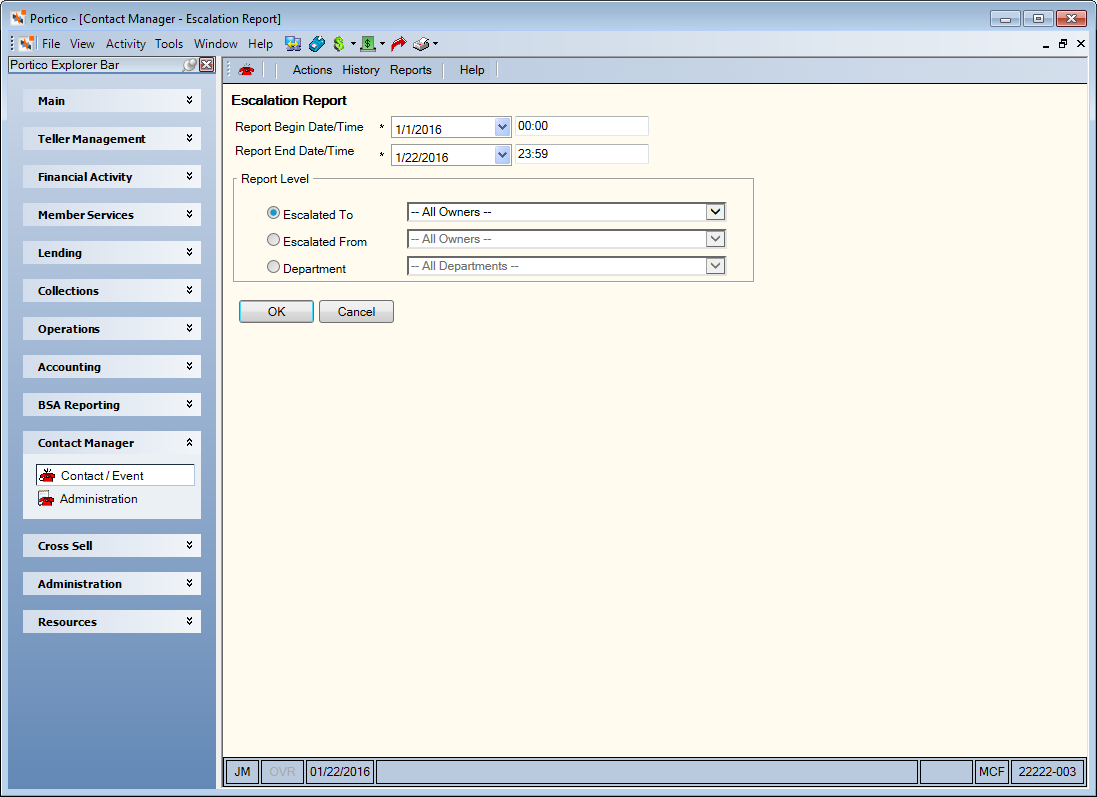
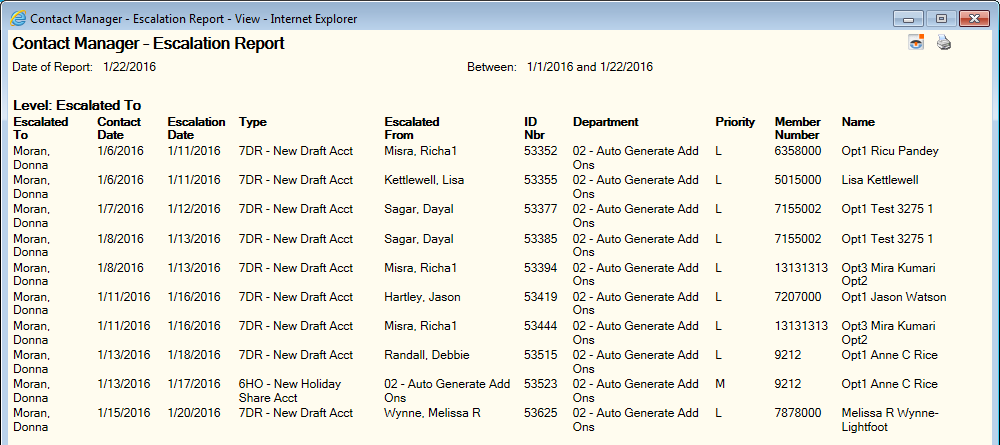
The Escalation Report window lets you generate a report of the contact records and events escalated in Contact Manager and Event Tracking.
To open the Escalation Report window, under Contact Manager on the Portico Explorer Bar, select Contact/Event. On the Contact/Event top menu bar, select Reports, then select Escalation Report. The Escalation Report window appears.

How do I? and Field Help
To view all the report information available, select OK.
To refine your report, complete any of the following fields and select OK.
- To enter a date range, click the Report Begin Date down arrow to select a beginning date from the calendar or enter the date in MM/DD/YYYY format. In the Report Begin Time field, enter the beginning time in HH:MM:SS military format. The system default is 00:00. Then, click the Report End Date down arrow to select an ending date from the calendar or enter the date in MM/DD/YYYY format. In the Report End Time field, enter the ending time in HH:MM:SS military format. The system default is 23:59.
- To generate a report by department, select the Department option. Then, select the down arrow to select the department associated with the contact record or event.

You can select the printer icon on the report window to print the report. Select the Nautilus Essentials icon to send the report to Nautilus Essentials. You can also copy and paste report information from a Contact Manager report to a Microsoft® Excel spreadsheet or other application.