Posting Offline Transactions
How do I? and Field Help
To return to online mode and post your offline transactions, complete the following steps:
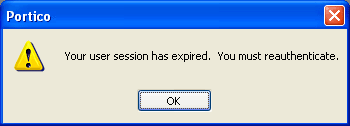
- Click Return to Online on the Offline Transactions window. The re-authenticate message will appear.

- Click OK to display the User Logon dialog box.
- Enter your user ID and password, then click OK. The Teller Actions dialog box will appear.
- Enter your teller number and branch, then click OK.
- To post your offline transactions, click the re-entry icon
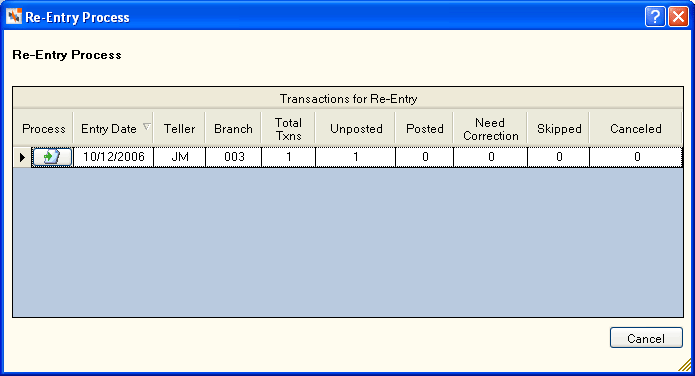
 on the tool bar. The Re-Entry Process dialog box appears.

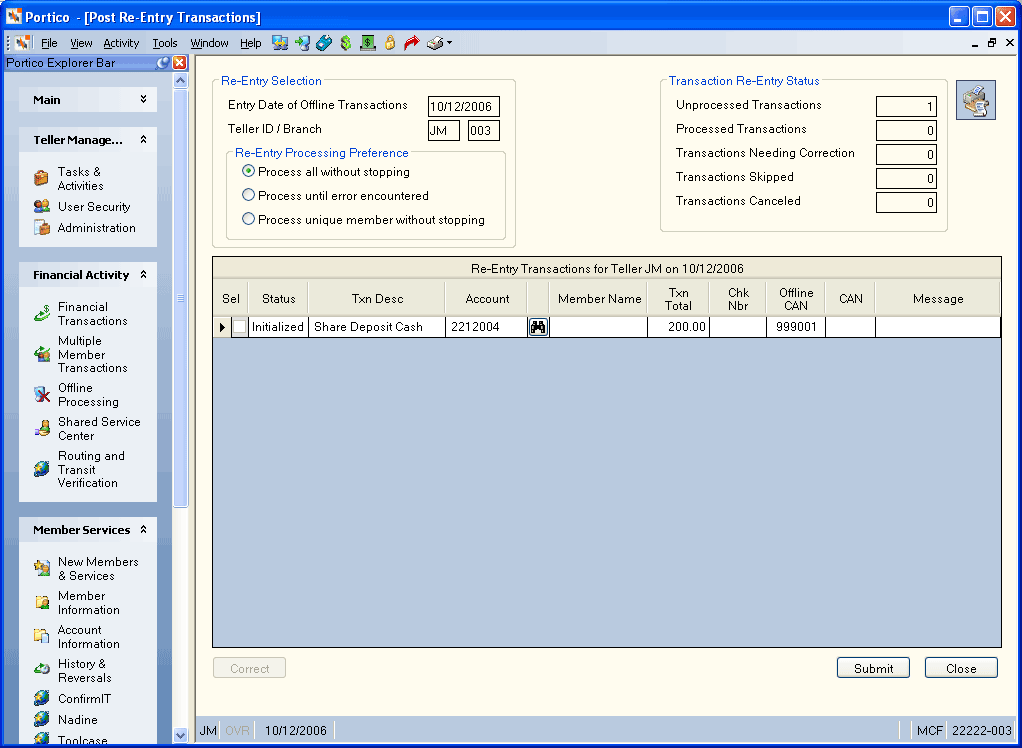
- Click the icon button in the Process column to process the transactions for that date. The Post Re-Entry Transactions window appears. The date that the offline transactions were completed, and the teller and branch where the offline transactions were performed appear in the Re-Entry Selection group box. The Re-Entry Transactions grid displays the transactions that need to be processed:

- In the Re-Entry Processing Preference group box, select the desired processing option:
- process all transactions without stopping
- process transactions until an error appears, allowing you to correct the transaction
- process only transactions associated with a specific member
- Then, click Submit to post the offline transactions. The re-entry statistics appears.

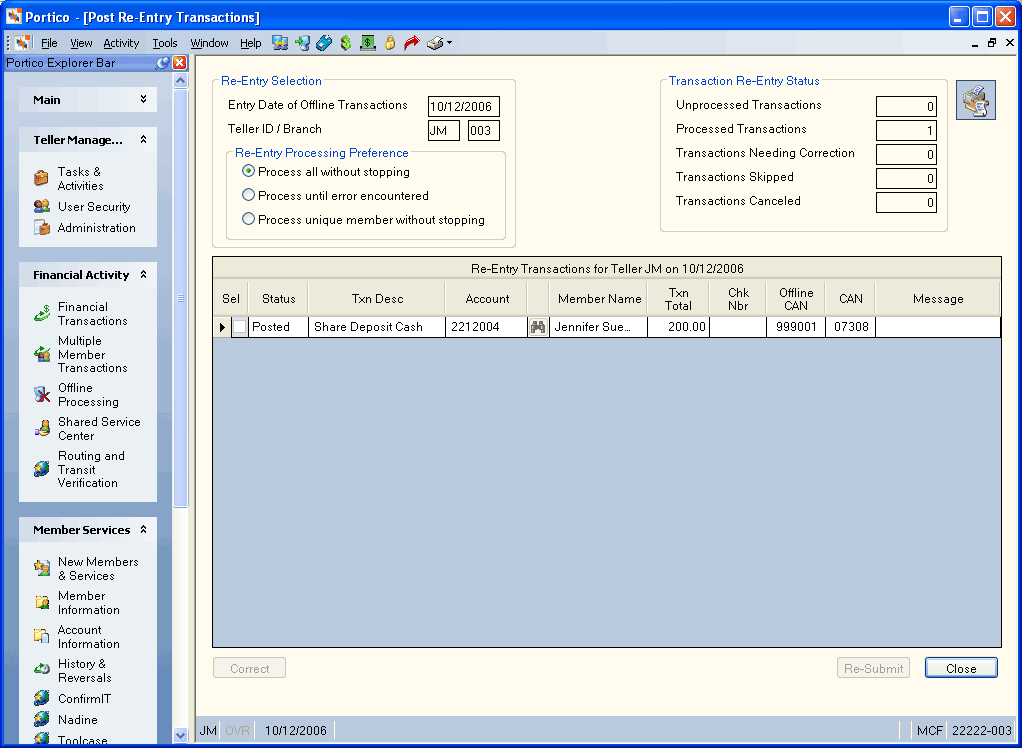
- Click OK. On the Post Re-Entry Transactions window, the transaction status has been changed to Posted and the computer-assigned number appears in the CAN field.

The Transaction Re-Entry Status group box displays:
- Unprocessed Transactions - The number of transactions not processed.
- Processed Transactions - The number of transactions processed.
- Transactions Needing Correction - The number of transactions with a status of Error.
- Transactions Skipped - The number of transactions that were skipped.
- Transactions Canceled - The number of transactions canceled.
Click the Print Re-Entry Summary icon to print a summary of the processed offline transactions.
Click Close when you are finished posting all the offline transactions.
If your credit union uses IMM Teller Item Capture, any checks scanned during Offline Processing will be immediately sent to IMM Teller Capture. If you need to change or remove the check transaction when posting the offline transactions to Portico, you will need to access the IMM Teller Capture application and manually remove the scanned check.