Posting Store and Forward Transactions
To return post your stored transactions, complete the following steps:
- Click Return to Online on the Store and Forward Transactions window.
- Then, click the re-entry icon
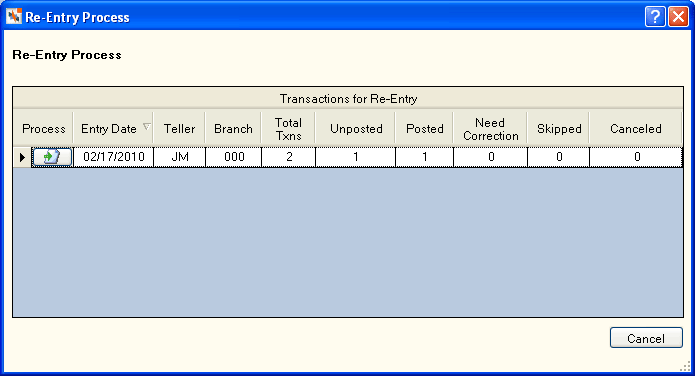
 on the tool bar. The Re-Entry Process dialog box appears.

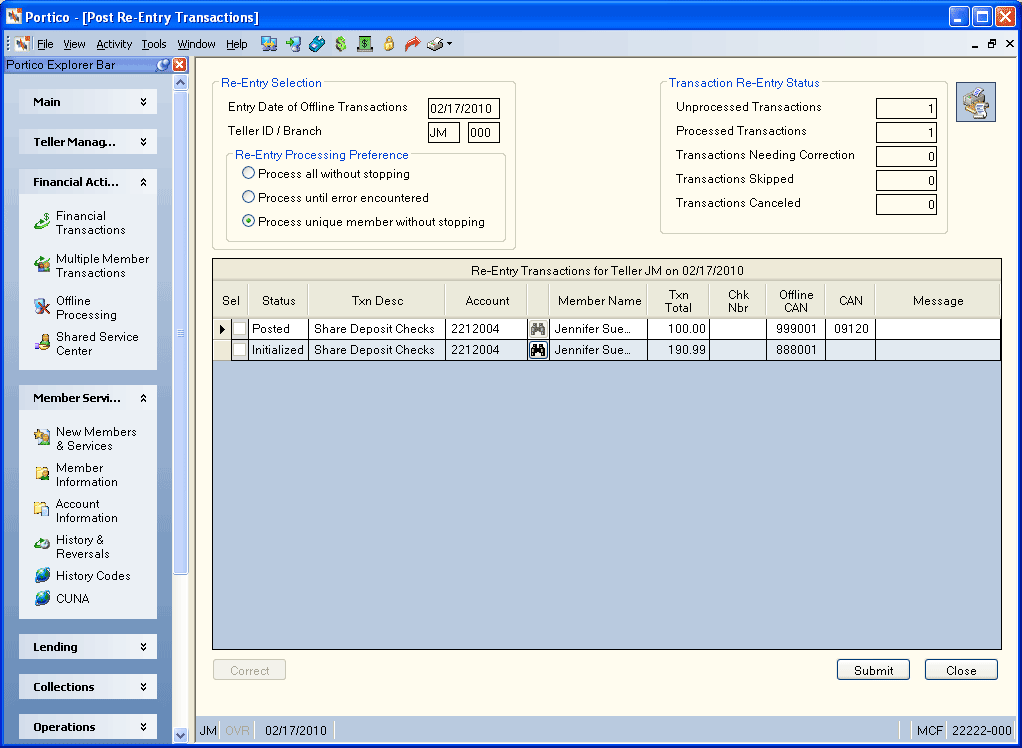
- Click the icon button in the Process column to process the transactions for that date. The Post Re-Entry Transactions window appears.

- In the Re-Entry Processing Preference group box, select the desired processing option:
- process all transactions without stopping
- process transactions until an error appears, allowing you to correct the transaction
- process only transactions associated with a specific member
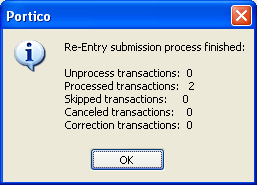
- Then, click Submit. The re-entry statistics appears.

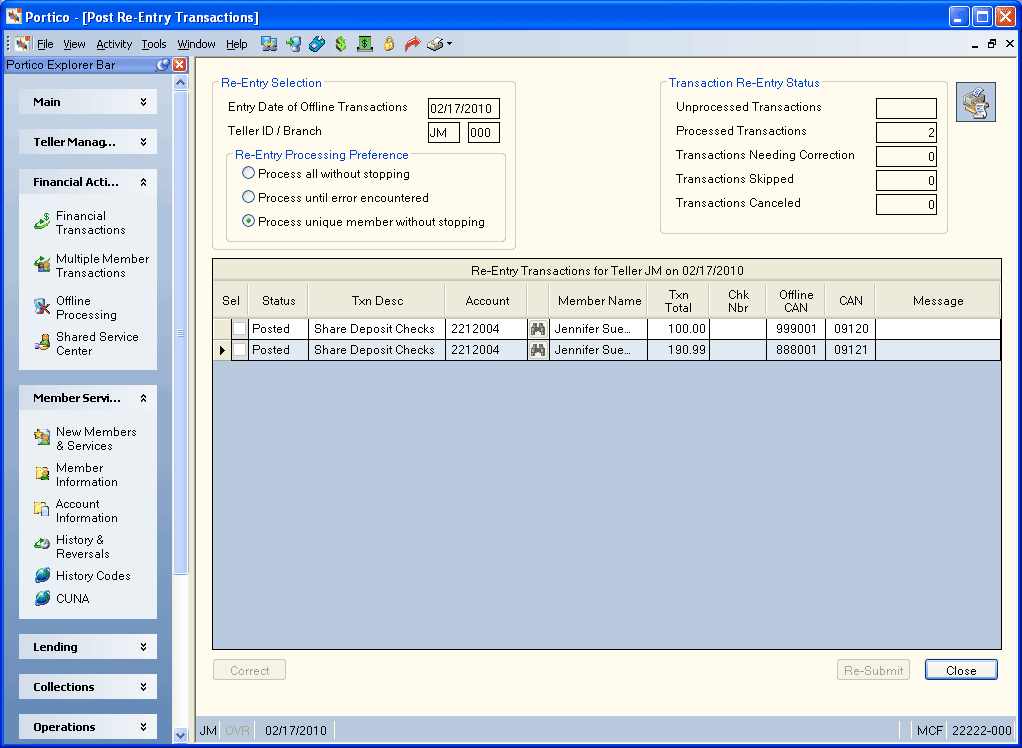
- Click OK. On the Post Re-Entry Transactions window, transaction status has been changed to Posted and the computer-assigned number appears in the CAN field.

- Click Close when you are finished posting all the store and forward transactions.
To correct a store and forward transaction, complete the same steps as you would to correct an offline transaction.