Correcting Offline Transactions
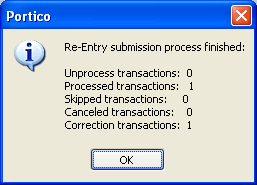
When you are posting offline transactions and come across a transaction that needs to be corrected, it will be reflected in the re-entry statistics.
How do I? and Field Help
Complete the following steps to correct an offline transaction.
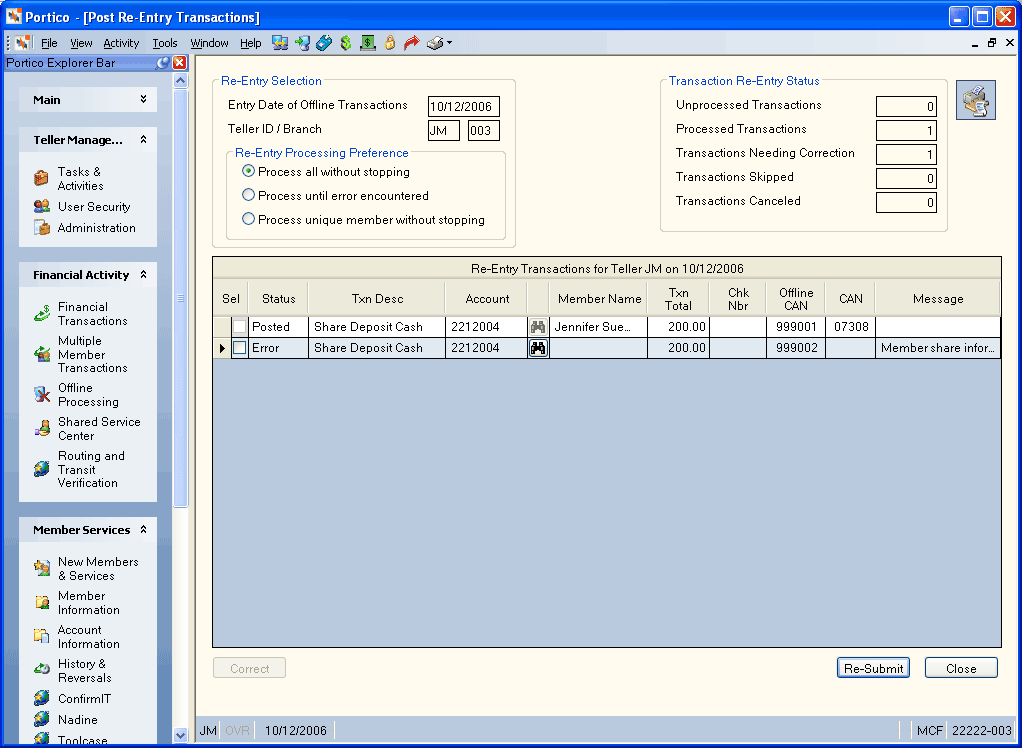
- Click OK to close the statistics dialog box. The Re-Entry Transactions grid will indicate which transaction needs to be corrected by displaying Error in the Status field and an explanation of the error in the Message field.
- Select the Sel check box next to the transaction. A Correct button appears underneath the grid.
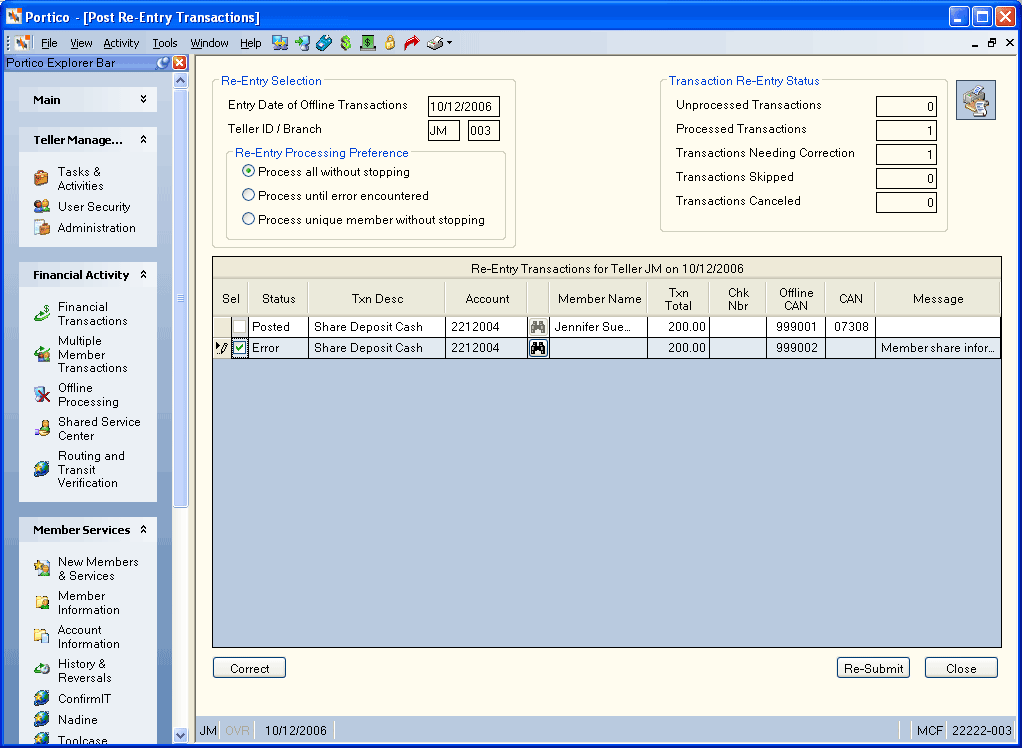
- Click Correct to display the transaction. An error message will appear indicating why the transaction could not be posted.
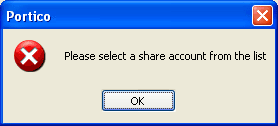
- Click OK. The Transaction Information group box displays the offline computer-assigned number associated with the offline transaction and the entry date for the offline transaction. Modify the fields as needed to correct the transaction.
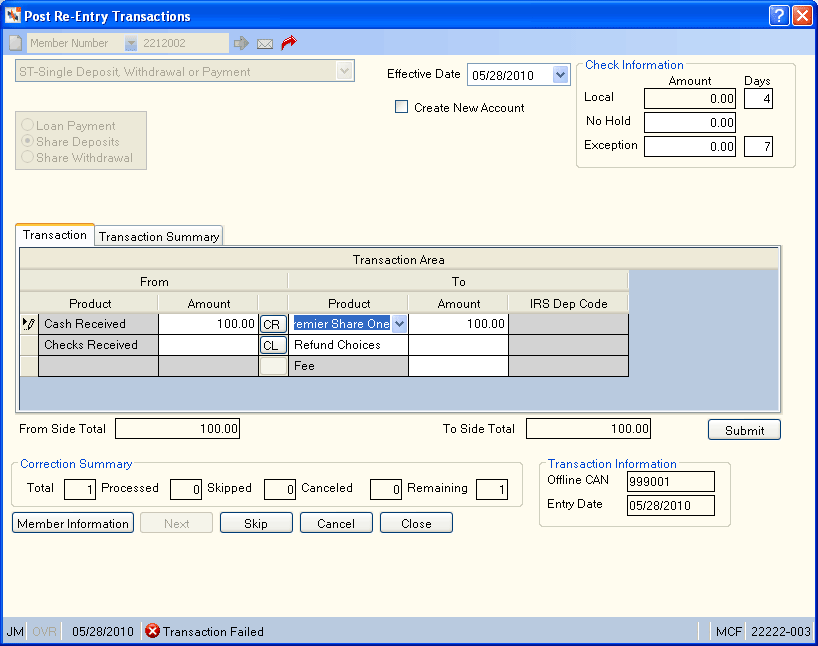
- Then, click Submit to complete the transaction. Click Member Information to view the member information. Click Next to move to the next rejected offline transaction. Click Skip to skip the transaction. Click Cancel to cancel the transaction correction.

The Correction Summary displays:
- The total number of rejected offline transactions to be corrected.
- The total number of processed offline transactions.
- The total number of skipped offline transactions.
- The total number of canceled offline transactions.
- The total number of offline transactions remaining.
Click Close. If there are no more transactions to correct, the following message appears.
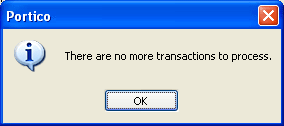
Click OK.